
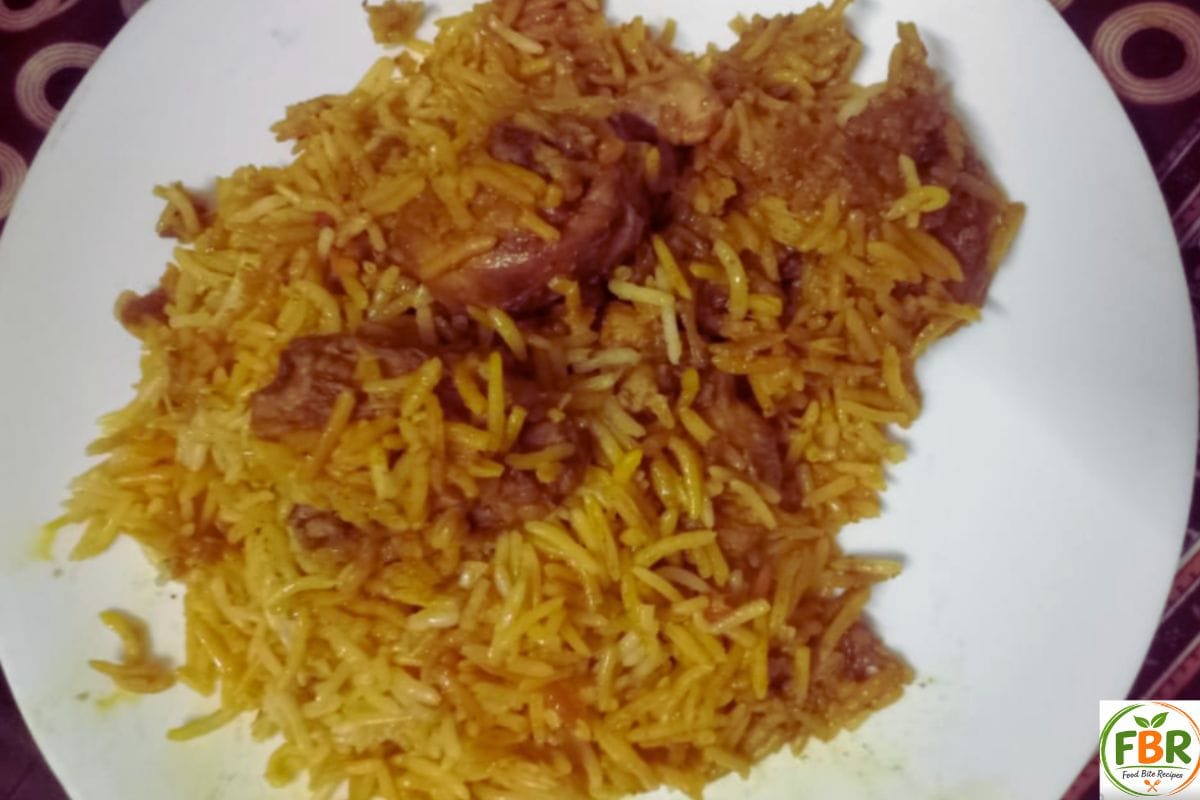
Chicken Biryani Recipe – Step-by-Step Guide for Home Cooking is perfect for anyone who wants to make flavorful and aromatic biryani without confusion. This recipe breaks down the entire process into simple steps so even beginners can follow it easily.
Chicken biryani is one of those dishes that instantly fills the kitchen with a rich, irresistible aroma. The combination of tender chicken, fragrant basmati rice, and warm spices creates a meal that feels both comforting and special.
What makes this chicken biryani recipe truly unique is the layering method and slow cooking process (dum), which helps develop deep flavor in every bite.
Quick Answer
Chicken biryani is a layered rice dish made with marinated chicken, partially cooked basmati rice, and aromatic spices, then slow-cooked to blend flavors perfectly.
Why This Chicken Biryani Works
This recipe focuses on balance and simplicity:
- Uses everyday ingredients (no hard-to-find items)
- Controlled spice level (not overly spicy or oily)
- Step-by-step layering method for even flavor
- Designed for beginners but gives restaurant-style results
Ingredients for Chicken Biryani Recipe – Step-by-Step Guide for Home Cooking
For the Chicken Marinade
- 1 kg chicken (bone-in preferred)
- 1 cup yogurt
- 2 tbsp ginger-garlic paste
- 1 tsp paprika
- ½ tsp turmeric
- 1 tsp garam masala
- Salt to taste
For the Rice
- 2 cups basmati rice
- 4 cups water
- 1 bay leaf
- 2 cardamom pods
- 2–3 cloves
Other Ingredients
- 2 onions (sliced)
- 2 tomatoes (chopped)
- 2 green chilies (optional)
- Fresh coriander & mint
- 3 tbsp oil or butter
- Saffron milk (optional)
Tips
- Yogurt helps make the chicken soft and juicy
- Whole spices add natural aroma
- Basmati rice keeps grains long and separate
Step-by-Step Method
Step 1: Marinate the Chicken
Mix chicken with yogurt, spices, and salt.
Cover and refrigerate for at least 2 hours (overnight is better).
Step 2: Prepare the Rice
Boil water with whole spices.
Add soaked rice and cook until 70% done.
Drain and keep aside.
Step 3: Fry the Onions
Heat oil and fry sliced onions until golden brown.
Set half aside for layering.
Step 4: Cook the Chicken
Add marinated chicken to the same pan.
Cook on medium heat until about 70–80% done.
Add tomatoes, chilies, and herbs.
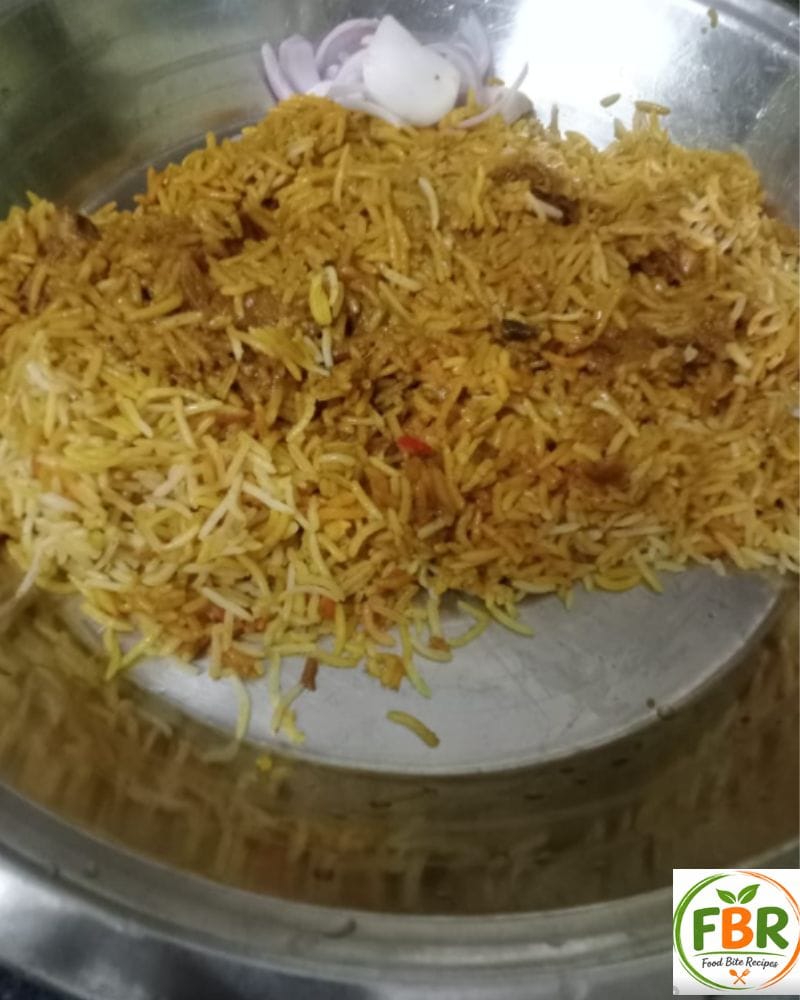
Step 5: Layer the Biryani
In a heavy pot:
- Add chicken layer
- Add rice layer
- Sprinkle onions, herbs, saffron
Repeat layers.
Step 6: Slow Cook (Dum)
Cover tightly and cook on low heat for 20–25 minutes.
Let it rest for 5 minutes before serving.
Taste & Texture
A good biryani should have:
Aroma that develops slowly during dum
Fluffy rice (not sticky)
Juicy, well-cooked chicken
Balanced spice—not overpowering
My Personal Tip
I always cook biryani on low heat and avoid rushing the process. Slow cooking makes a big difference in both taste and texture.
Common Mistakes to Avoid
- Overcooking rice → sticky texture
- High heat dum → burnt bottom
- Skipping marination → less flavor
- Too much water → mushy biryani
FAQs about Chicken Biryani
Yes, but bone-in gives more flavor.
Reduce chilies and spices.
Yes, layer and cook just before serving.
Serving Suggestions
- Cucumber raita
- Fresh onion salad
- Lemon wedges
Storage & Reheating
- Store in fridge for up to 2–3 days
- Reheat on low heat with a little water
- Avoid overheating to keep rice soft
Conclusion
Chicken biryani is more than just a recipe—it’s a process that brings together patience, aroma, and carefully balanced flavors. From marinating the chicken to layering the rice and finally slow-cooking everything on dum, each step plays an important role in building the final taste.
What makes this dish truly special is how simple ingredients transform into something rich and satisfying when cooked the right way. The spices don’t just add heat; they create depth. The rice isn’t just a base; it carries the aroma of everything layered beneath it. And the chicken, when cooked properly, becomes tender and full of flavor.
If you’re making biryani for the first time, it might feel like there are many steps—but once you try it, you’ll realize it’s more about understanding the process than following strict rules. Small details, like not overcooking the rice or allowing enough time for dum, can make a big difference.
Over time, you’ll naturally adjust the spices, texture, and richness according to your taste. That’s the beauty of cooking at home—you’re not just following a recipe, you’re building your own version of it.
For everyday meals, you can keep it simple. For special occasions, you can make it richer with saffron, fried onions, or extra herbs. Either way, this chicken biryani is flexible enough to fit different preferences.
You Might Also Like
- Fluffy Pancake Recipe – Soft & Easy Breakfast in 15 Minutes
- Easy Chicken Shawarma Wrap Recipe – Street Style at Home
- Strawberry Banana Smoothie – Healthy & Refreshing Drink

Chicken Biryani Recipe
Ingredients
- Chicken 1 kg
- Yogurt 1 cup
- Basmati rice 2 cups
- Onion 2 sliced
- Tomato 2 chopped
- Ginger garlic paste 2 tbsp
- Spices turmeric, garam masala, paprika
- Whole spices bay leaf, cardamom, cloves
- Oil / butter
- Coriander & mint
- Salt
Instructions
- Marinate chicken with yogurt and spices
- Cook rice until 70% done
- Fry onions until golden
- Cook chicken with tomatoes and herbs
- Layer chicken and rice in pot
- Slow cook (dum) for 20–25 minutes
- Rest and serve hot
Notes
Do not overcook rice
Use fresh ingredients for better taste