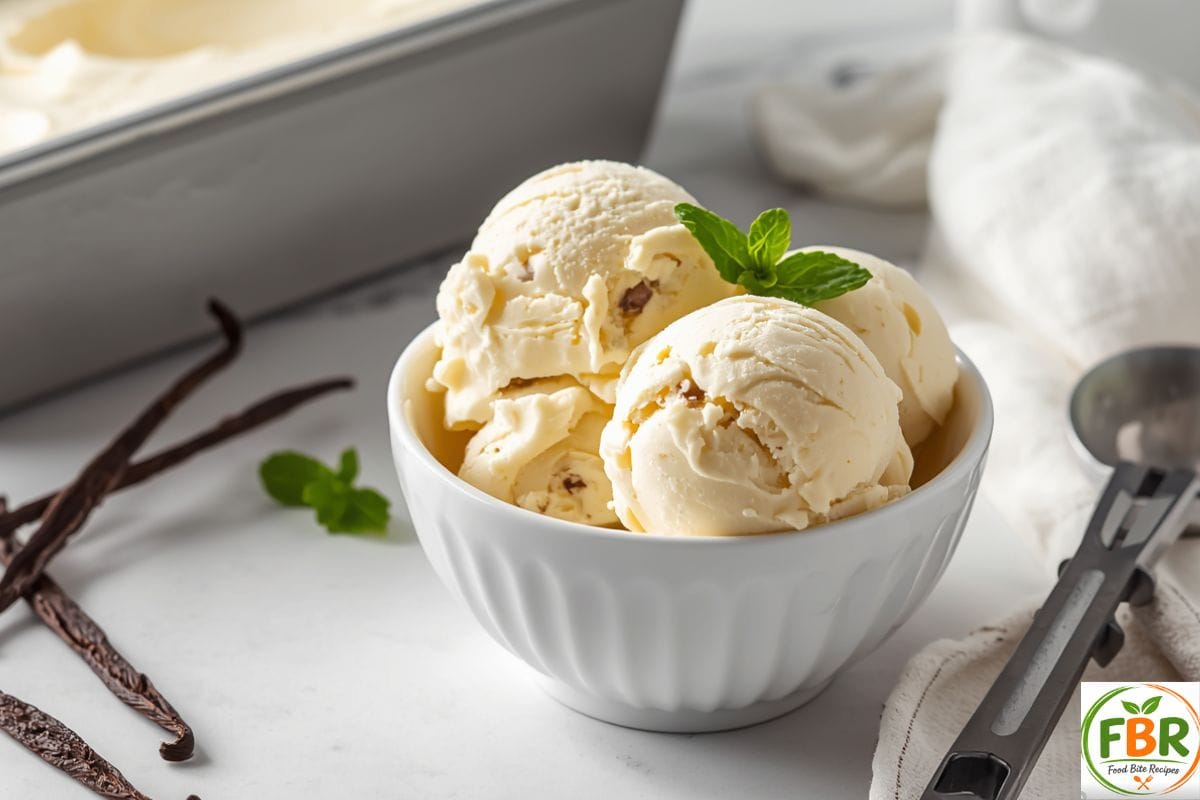
I used to think homemade ice cream was one of those things that sounded nice but was honestly too much work. No machine, no cooking, and still creamy? That felt unrealistic. But one random day, with just a few basic ingredients in my kitchen and a craving for something cold and comforting, I decided to try it anyway.
That first batch wasn’t about perfection—it was about curiosity. And when I took that first spoonful, I was genuinely surprised. It was smooth, rich, and tasted like real vanilla ice cream, not a shortcut version. Since then, this homemade vanilla ice cream without a machine has become my go-to dessert whenever I want something simple but satisfying.
Why This Recipe Works
- No ice cream maker required
- No cooking and no eggs
- Only 3 main ingredients
- Rich and creamy texture
- Beginner-friendly
- Perfect for summer desserts
The Science Behind Creamy No-Churn Ice Cream
I won’t lie—I didn’t care much about the science at first. I just wanted smooth ice cream. But understanding this part helped me avoid icy, hard results later on.
Ice cream is all about air and fat.
Traditional ice cream machines churn the mixture to
- Incorporate air
- Prevent large ice crystals
In a no-machine recipe:
- Whipped cream replaces churning by trapping air
- Sweetened condensed milk lowers the freezing point
- Fat content keeps the ice cream smooth and scoopable
Pro Tip: The higher the fat content, the creamier the final result—this is why full-fat cream works best.
Ingredients
Basic Ingredients
- 2 cups (480 ml) double cream (heavy cream)
- 1 can (397 g) sweetened condensed milk
- 1½ teaspoons pure vanilla extract
- Pinch of salt (optional, enhances flavour)
Ingredient Notes
Cream
Use double cream (UK) or heavy whipping cream. Avoid single cream—it won’t whip properly.
Vanilla
Pure vanilla extract gives the best flavor. Vanilla bean paste also works beautifully for a speckled look.
Condensed Milk
Sweetened condensed milk adds sweetness and prevents ice crystals. Do not substitute with evaporated milk.
Ingredient Buying Tips
For the creamiest texture, use heavy cream (or UK double cream) with at least 35% fat. Lower-fat cream won’t whip properly and may create an icy texture. Pure vanilla extract provides the best flavor, and full-fat sweetened condensed milk keeps the ice cream smooth and scoopable.
Step-by-Step Homemade Vanilla Ice Cream Recipe
Step 1: Whip the Cream
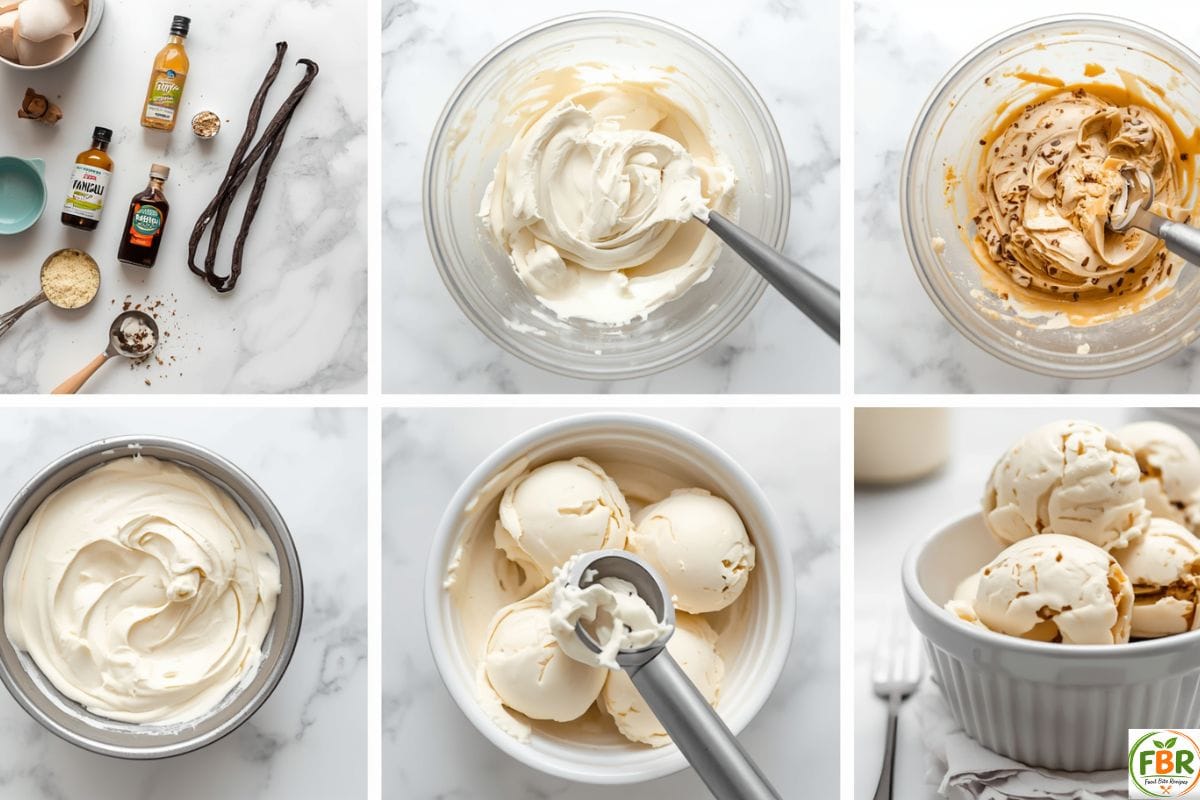
Pour 2 cups of cold heavy cream (or double cream) into a large mixing bowl. Using a hand mixer, whip the cream until stiff peaks form. The cream should hold its shape but still look smooth and fluffy.
Step 2: Add the Condensed Milk
Pour in 1 can (14 oz / 397 g) of sweetened condensed milk along with 1½ teaspoons of pure vanilla extract and a pinch of salt, if using.
Step 3: Fold Gently
Using a spatula, gently fold everything together until fully combined. Mix slowly to keep as much air in the whipped cream as possible. This is what gives the ice cream its light and creamy texture.
Step 4: Transfer to a Container
Pour the mixture into a freezer-safe container or loaf pan. Smooth the top with a spatula.
Step 5: Cover and Freeze
Press a piece of parchment paper or plastic wrap directly onto the surface to help prevent ice crystals. Cover tightly with a lid or foil and freeze for at least 6 hours, or overnight.
Step 6: Let It Soften Slightly
Remove the ice cream from the freezer and let it sit at room temperature for 3–5 minutes. This makes it easier to scoop.
Step 7: Scoop and Serve
Scoop into bowls or cones and enjoy as is, or top with fresh berries, chocolate sauce, or crushed cookies.
Common Mistakes to Avoid
- Using low-fat cream
- Overwhipping the cream
- Mixing too aggressively
- Freezing without a lid
- Scooping immediately after freezing
No-Cook Method
Ingredients
- 2 cups double cream
- 1 can of sweetened condensed milk
- 1½ tsp vanilla extract
Expert Tips for Vanilla Ice Cream
Essential Tips
- Use cold cream for better whipping
- Fold gently to keep the air intact
- Freeze in a shallow container for an even setting
Advanced Tips
- Add a layer of parchment touching the surface to prevent ice crystals
- Stir once after 2 hours for extra smoothness (optional)
- Let the ice cream soften slightly before serving
My Secret Tip
Place a piece of parchment paper directly on the surface of the ice cream before covering the container. This helps prevent ice crystals and keeps the texture extra creamy.
Flavor Variations
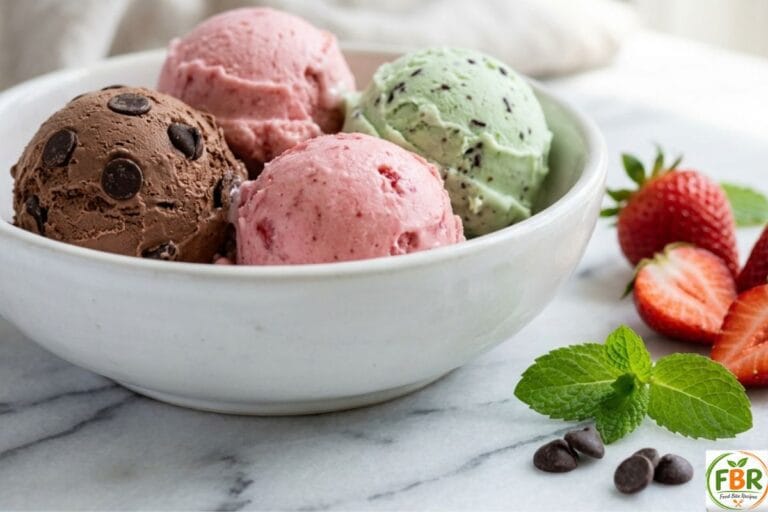
- Chocolate chip: Fold in chocolate chunks
- Strawberry swirl: Add strawberry puree
- Cookies & cream: Crushed cookies
- Coffee: Dissolve instant coffee in condensed milk
Serving Suggestions
- With brownies or warm cake
- In cones or waffle bowls
- Topped with fruit or caramel sauce
- Alongside pies and crumbles
Best Containers for Freezing
A shallow metal loaf pan or airtight freezer-safe container works best. Shallow containers freeze more evenly and make scooping easier.
Storage and Shelf Life
- Freezer: Up to 2 weeks (best texture)
- Store in an airtight container
- Avoid frequent thawing and refreezing
Nutrition (Per Serving)
- Calories: 320 kcal
- Carbohydrates: 24 g
- Protein: 4 g
- Fat: 24 g
- Saturated Fat: 15 g
- Sugar: 22 g
- Sodium: 55 mg
FAQs About Homemade Vanilla Ice Cream
Q1: Can I really make vanilla ice cream without a machine?
Yes, absolutely. An ice cream machine is helpful but not necessary. This recipe uses whipped cream to trap air, which mimics the churning process of a machine. When combined with condensed milk, it creates a creamy, smooth texture without constant stirring or special equipment.
Q2: Why is my homemade vanilla ice cream sometimes icy?
Icy texture usually happens due to low fat content or improper mixing. Always use full-fat double cream and fold the ingredients gently. Over-mixing removes air, while under-mixing creates uneven freezing—both can lead to ice crystals.
Q3: Can I make this vanilla ice cream without condensed milk?
You can, but the results will differ. Condensed milk lowers the freezing point and adds sweetness at the same time. Without it, the ice cream may freeze harder and lose its creamy consistency. If substituting, use a sugar syrup or cream-based sweetener carefully.
Typically, it takes 6–8 hours to freeze completely. For best results, freeze overnight. Let the ice cream sit at room temperature for 3–5 minutes before scooping for the perfect texture.
Conclusion
Making homemade vanilla ice cream without a machine reminded me that some of the best desserts don’t come from complicated steps or expensive tools. They come from keeping things simple and enjoying the process. There’s something quietly satisfying about knowing that a creamy, comforting bowl of ice cream started with just a few basic ingredients and a little patience.
This recipe isn’t about chasing perfection. It’s about creating a moment—sharing a scoop after dinner, enjoying a quiet treat on a warm evening, or watching someone smile after the first bite. When you make it yourself, the experience feels more personal, more real, and somehow more rewarding.
What I appreciate most is how easy it is to come back to this recipe. No stress, no special equipment, and no pressure to get everything “just right.” You can adjust it, play with flavors, or keep it classic—whatever fits your mood that day.
You May Also Like
- Soft & Fluffy Vanilla Cake from Scratch
- Easy Tandoori Paneer Burger Recipe
- Homemade Vanilla Ice Cream Without a Machine

Homemade Vanilla Ice Cream Without a Machine (No-Cook No-Churn Recipe)
Ingredients
- Main Ingredients
- 2 cups heavy cream or double cream
- 1 can 14 oz / 397 g sweetened condensed milk
- 1½ teaspoons pure vanilla extract
- Pinch of salt optional
- Optional Add-Ins
- ½ cup chocolate chips
- ¼ cup strawberry puree
- 6 crushed cookies
Instructions
- Pour the cold heavy cream into a large bowl and whip until stiff peaks form.
- Add the sweetened condensed milk, vanilla extract, and salt.
- Gently fold everything together until smooth and fully combined.
- Transfer the mixture to a freezer-safe container and smooth the top.
- Press parchment paper or plastic wrap directly onto the surface.
- Cover tightly and freeze for at least 6 hours or overnight.
- Let the ice cream sit at room temperature for 3–5 minutes before scooping.
- Scoop into bowls or cones and serve.
Notes
- Use full-fat heavy cream for the creamiest texture.
- Fold gently to keep the mixture light and airy.
- Placing parchment paper directly on the surface helps prevent ice crystals.
- Store in an airtight container in the freezer for up to 2 weeks.