
Mocha Iced Coffee Recipe (Easy, Creamy & Better Than Starbucks at Home)
When I first tried making mocha iced coffee at home, it turned out way too bitter. But now that I’ve finally mastered it—come along, let’s give it a try together today!
It took a little time—adjusting the coffee strength, balancing the sweetness, and figuring out the right milk ratio—but once I finally got it right, I realized there was no longer any real need to buy it from outside.
The best thing about this recipe is that you can easily tweak it to suit your personal taste. Want it strong? Go for it. Prefer it a little sweeter? Just make the adjustment.
If you love the coffee-and-chocolate combination, you definitely have to give this a try. I didn’t have any chocolate available at the time, so I skipped it; however, I highly recommend that you don’t skip it—my coffee turned out a bit bitter precisely because I left the chocolate out.
Ingredients
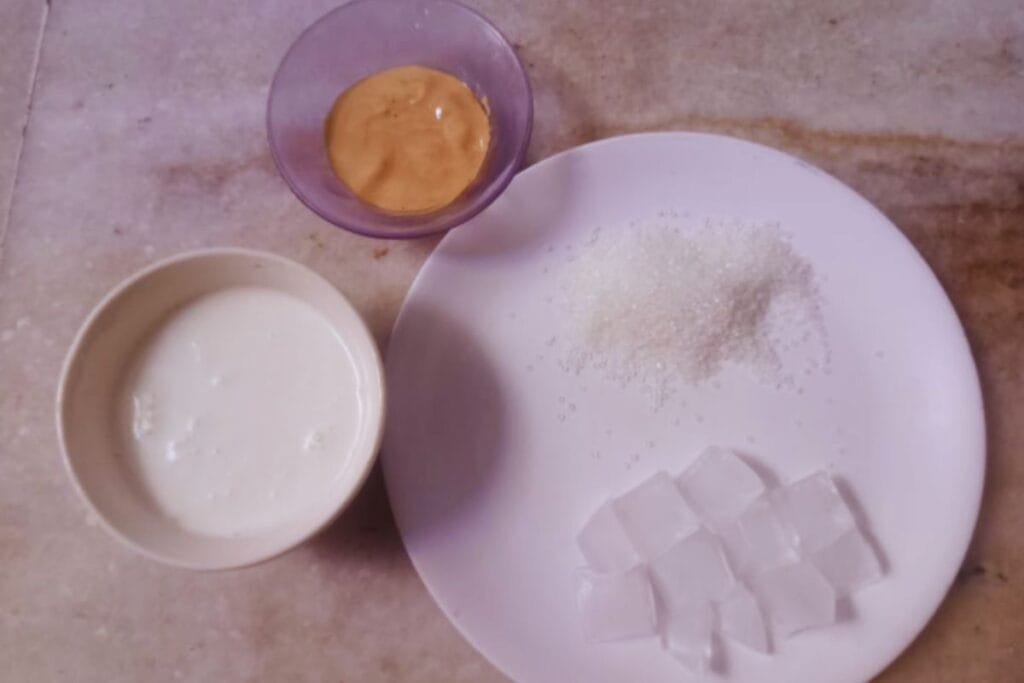
You don’t need any fancy ingredients for this—most things can be found right at home.
Main Ingredients
1 cup strong brewed coffee (cooled) or cold brew
1 cup milk (regular, almond, oat—whichever you prefer)
1–2 tsp cocoa powder or chocolate syrup
1–2 tsp sugar (optional)
Ice cubes
Optional Add-Ons
A splash of vanilla extract
Whipped cream
Chocolate shavings or cocoa powder (for garnish)
Optional Add-Ons
- A few drops of vanilla extract
- Whipped cream (for topping)
- Dark chocolate shavings or cocoa powder for garnish
I personally use cocoa powder—it gives the flavor a slightly deeper and richer profile. However, if you prefer a sweeter and smoother taste, chocolate syrup would be a better choice.
Step-by-Step Instructions
It’s actually quite simple—it just requires understanding the right balance.
Step 1 – Prepare the Coffee
First things first: make your coffee. Brew it on the stronger side.
If it’s hot, let it cool down completely. Pouring hot coffee directly over ice causes the ice to melt, diluting the drink (yes, I’ve made this mistake myself!).
If you have cold brew, even better—it results in a smoother taste.
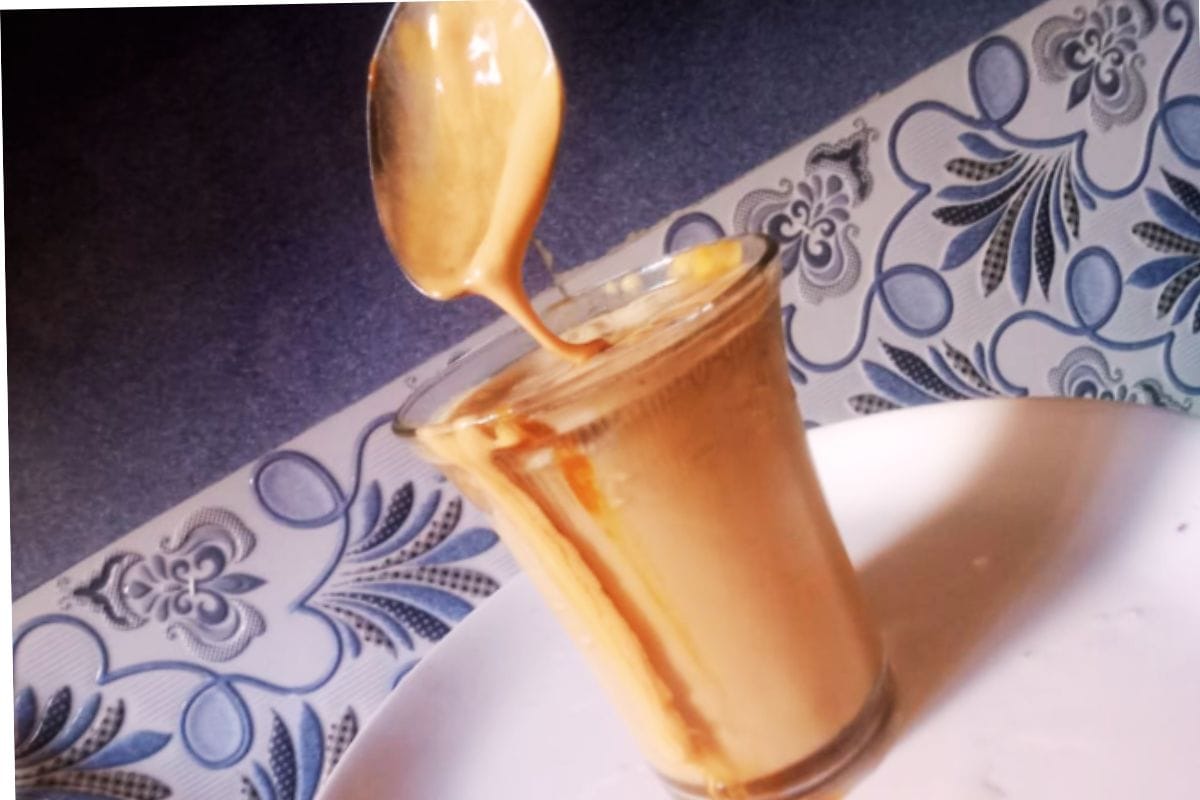
Step 2 – Mix the Chocolate
In a small bowl or glass, mix the cocoa powder with a little warm milk or water.
Don’t skip this step! Adding cocoa powder directly to cold milk creates lumps, which isn’t pleasant at all.
Step 3 – Add Sugar
If you’d like a touch of sweetness, add the sugar now and give it a mix.
Sometimes I skip the sugar entirely—especially when I’m using chocolate syrup. However, this time around, I’ve opted to skip the chocolate syrup.
Step 4 – Assemble the Drink
Grab a tall glass and fill it with ice.
First, pour in the chocolate mixture, then slowly add the coffee. At this stage, the distinct layers look quite beautiful.
Step 5 – Add Milk
Now, pour in the milk.
This is the moment when both the look and the taste of the drink become wonderfully creamy. You can adjust the amount of milk to suit your personal taste preferences.
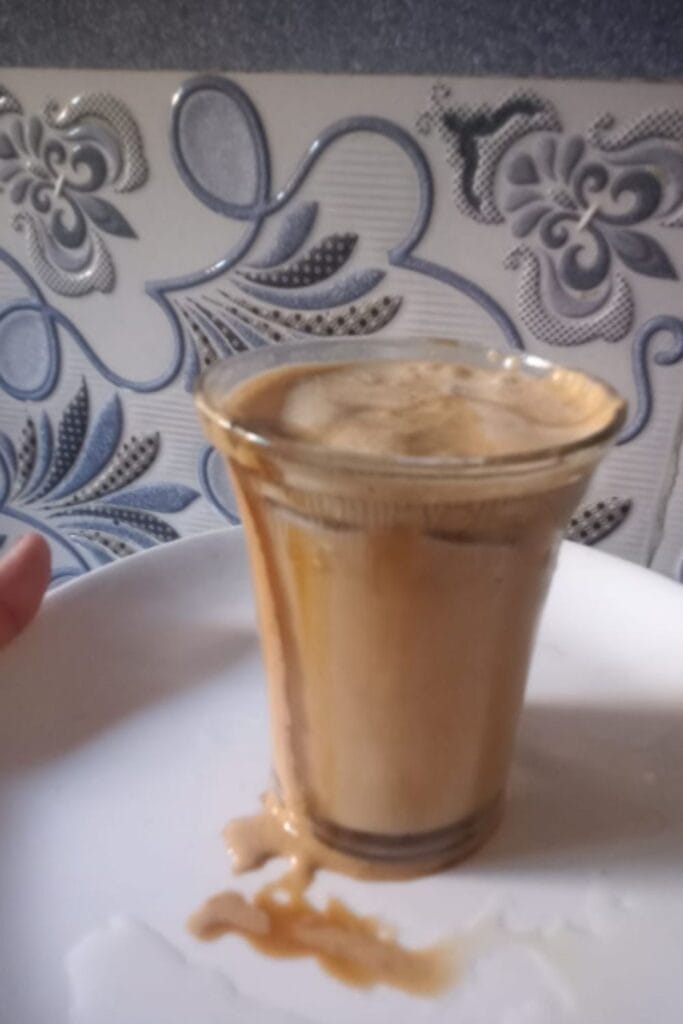
Step 6 – Stir & Finish
Now, give everything a gentle stir.
If you’re feeling a bit fancy, top it off with some whipped cream and sprinkle a little cocoa powder or chocolate shavings over it.
And that’s it—your homemade Mocha Iced Coffee is ready!
Variations
If you feel like experimenting a little, you can give these a try:
Oat Milk Mocha – extra creamy + naturally a little sweet
Dark Chocolate Mocha – less sweet, with a stronger flavor
Vanilla Mocha – adding a touch of vanilla makes the taste smoother
Blended Mocha (Frappé) – blend everything with ice to create a thicker version
Sometimes I keep it simple, sometimes a little fancy—it all depends on my mood.
If you’re watching your sugar intake, you should definitely explore these Easy Homemade Banana Milk for Breakfast & Smoothies for more healthy variations.
Common Mistakes
Here are some common mistakes to avoid:
Pouring hot coffee directly over ice → watery taste
Not mixing the cocoa properly → lumps
Adding too much sugar → the taste of the coffee gets overpowered
I’ve made all these mistakes myself in the past! But once you fix them, the results are significantly better.
cocoa powder directly into cold milk
What happens when you do this:
The cocoa does not dissolve properly.
Lumps form.
The texture of the drink feels a bit strange (it isn’t smooth).
What to do instead:
First, mix the cocoa powder with a little warm milk or water, and then add it to the drink.
Tips (That Actually Work)
- I’ve made this quite a few times, and these little details really do matter:
- Keep the coffee strong – the ice will dilute it slightly.
- Mix the cocoa first – otherwise, lumps are guaranteed.
- Adjust to your taste – there is no single “perfect” ratio.
- Use good quality cocoa – it makes a real difference in flavor.
- You can also customize it to suit your own preferences.
When Is the Best Time to Drink It?
Morning – when you’re not in the mood for hot coffee
Afternoon – for a quick energy boost
Weekend treat – when you’re craving something a little indulgent
Storage Tips Mocha Iced Coffee Recipe (Easy, Creamy & Better Than Starbucks at Home)
It tastes best when fresh, but you can do a little prep work:
Coffee → store in the fridge for up to 24 hours
Chocolate mix → prepare it in advance
Just be sure to drink it immediately after adding the ice.
FAQ
1. Can you skip sugar?
Yes, absolutely.
2. Which milk is best?
Whatever you like—but oat milk is quite creamy.
3. Can you use instant coffee?
Yes, just make it a little stronger.
4. Does it taste like cafe?
Close to coffee. Sometimes even better.
Final Thoughts
Now, this mocha iced coffee has become a part of my routine.
There’s no special planning involved—whenever I feel like having something cold and chocolatey to drink, I simply whip this up. Sometimes I keep it completely simple—sugar-free—and other times, when I’m feeling a little extra, I top it off with some whipped cream.
The best part is that there are no fixed rules. You can customize it to suit your own taste—strong, light, sweet, or perfectly balanced.
And yes… to be honest, there are some days when this homemade coffee tastes even better than the kind you get outside.
Give it a try once, and gradually, you’ll create your own perfect version.
Enjoyed this recipe? You might also love these refreshing drinks and snacks:
5 Low-Sugar Iced Coffee Recipes You Can Make at Home
Benefits of 1 Glass of Pineapple Juice – Best Time, Nutrition & Easy Recipe
Natural Skin Brightening Juice at Home for Glowing Skin

Mocha Iced Coffee Recipe (Easy, Creamy & Better Than Starbucks at Home)
Ingredients
- 1 cup strong brewed coffee cooled or cold brew
- 1 cup milk regular, almond, or oat
- 1 –2 tsp cocoa powder or chocolate syrup
- 1 –2 tsp sugar optional
- Ice cubes
- A few drops of vanilla extract optional
- Whipped cream optional
- Chocolate shavings or cocoa powder optional
Instructions
- Brew strong coffee and let it cool completely.
- Mix cocoa powder with a little warm milk until smooth.
- Add sugar if desired and mix well.
- Fill a glass with ice cubes.
- Pour in the coffee and chocolate mixture.
- Add milk according to your taste.
- Stir gently and serve.
- Top with whipped cream or cocoa powder if desired.
Notes
- Use strong coffee to avoid a watery taste.
- Mix cocoa with warm liquid to prevent lumps.
- Adjust sweetness and milk to your preference.